

How To Place An Image Over Another In Photoshop

Placing An Prototype Inside Of Some other With Photoshop
In this Photoshop Furnishings tutorial, we're going to learn how to place an image inside of another epitome using the "Paste Into" command in Photoshop.
With this year's Super Basin coming upwards (at the time I'm writing this), all of the major electronics stores have been filling their websites and weekly flyers with pictures of the latest loftier definition tv's showing the big game. If it's non a major sports event being displayed on the screens, it'due south usually the latest blockbuster DVD pic release or big upkeep video game.
Of course, none of these images are really being displayed on the screen, since it'southward next to impossible to have a loftier quality photograph of something appearing on television set. Information technology'southward all done in Photoshop. An epitome of whatever information technology is they desire to accept actualization on telly is just pasted into the image of the television set itself. In this Photoshop tutorial, we're going to see how it'due south done so you tin can use the same technique with your ain images!
Notation that this version of the tutorial is for Photoshop CS4 and earlier. For Photoshop CS5, CS6 and CC users, or for another instance of how this technique can be used, cheque out our fully updated version.
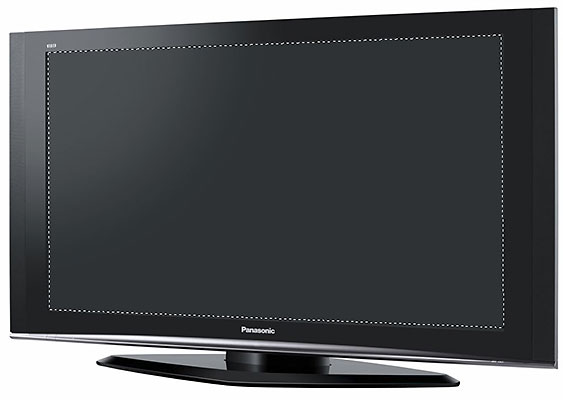
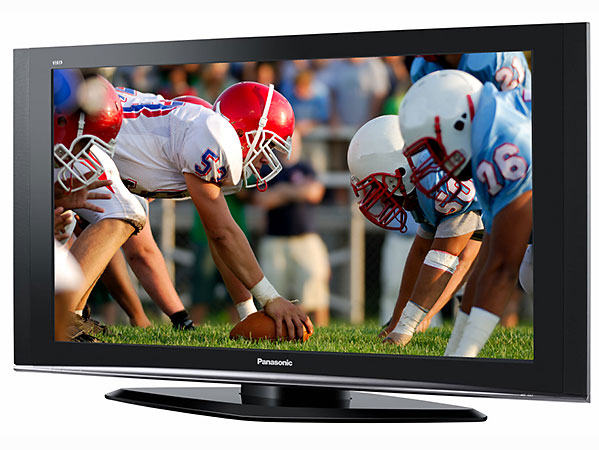
Hither, I have an image of the sort of tv you'd probably find in an electronics store's flyer:
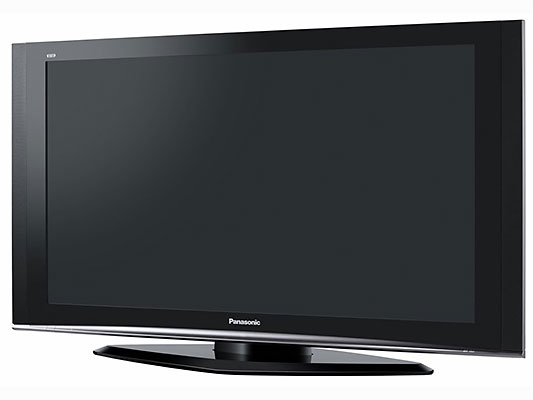
An image of a telly, similar to what y'all'd find on an electronics shop's website or in their weekly flyer.
And here's the prototype I want to have appearing on the tv:
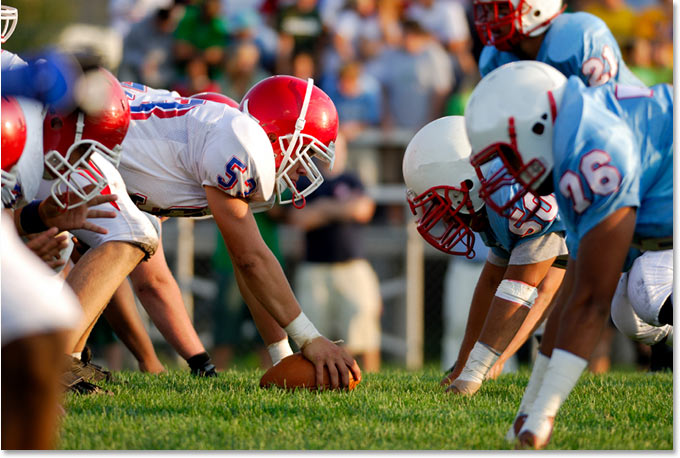
A photograph of a football game game.
Here'due south what it's going to await like when nosotros're done:
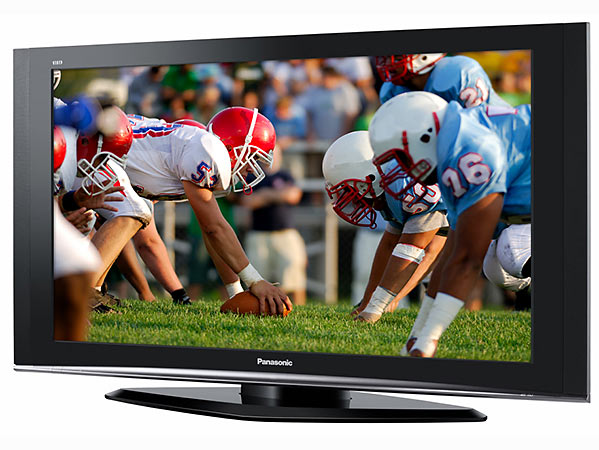
The game at present appears to be displaying on the tv screen.
How To Identify Ane Image Within Of Another
Pace 1: Select The Area Y'all Want To Paste The Second Prototype Into
Starting time, open the prototype you want to place the second image into and draw a selection around the area where the second prototype is going to appear. The option tool you employ volition of course depend on the shape of the area you need to select. I desire my second image to announced within the tv screen, which is a simple four-sided shape, so I'm going to use Photoshop's Polygonal Lasso Tool, which by default is hiding behind the standard Lasso Tool in the Tools palette. I'm going to click on the Lasso Tool icon, then I'll hold my mouse push down for a second or two until the fly-out menu appears, and then I'll select the Polygonal Lasso Tool from the list:
Selecting the Polygonal Lasso Tool from the Tools palette in Photoshop.
The Polygonal Lasso Tool allows you to draw a selection by just clicking at dissimilar points where the direction of the selection needs to alter. Each time yous click at a new point, Photoshop volition add a directly line between the new point and the last point y'all clicked on, similar to how the Pen Tool works when drawing straight path segments. You only continue clicking around the area that needs to exist selected until you've outlined the unabridged expanse and you've made your way back to the outset. When you click again on that first point, Photoshop volition create the choice.
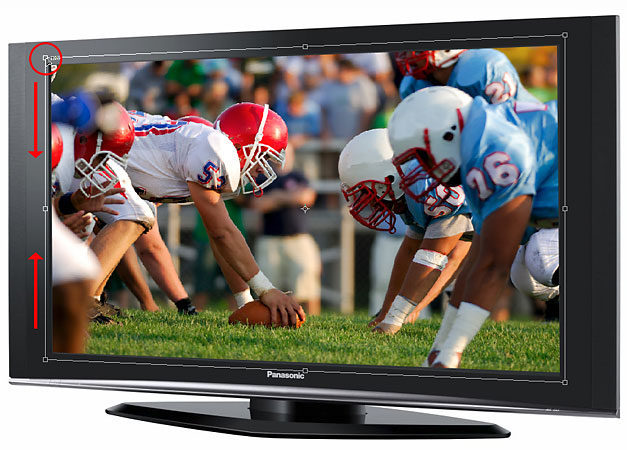
Selecting the boob tube screen with the Polygonal Lasso Tool is easy. All I need to do is click in each of the 4 corners. I'll first with the superlative left corner, then brand my way downwards to the bottom left corner, so over to the lesser right corner, and up to the acme right corner. We can run into the three lines that take been created so far:
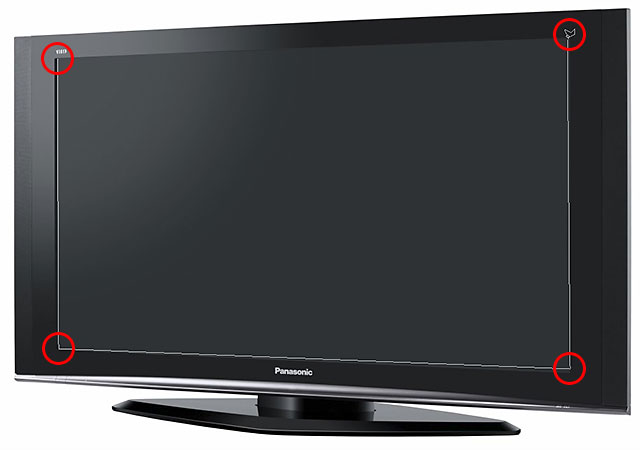
Clicking in each corner of the television set screen with the Polygonal Lasso Tool to draw a selection around it.
To complete the selection, I'll click in one case again on the same spot I started with in the peak left corner of the tv screen, and Photoshop will create my selection for me:
Click again on the initial signal to complete the selection.
Step two: Re-create The 2nd Image To The Clipboard
Open your second image in Photoshop and press Ctrl+A (Win) / Command+A (Mac) to place a selection around the entire epitome:

Press "Ctrl+A" (Win) / "Command+A" (Mac) to identify a option effectually the unabridged image.
Then press Ctrl+C (Win) / Command+C (Mac) to re-create the image to the clipboard.
Step 3: Paste The 2nd Image Into The Selection
Switch dorsum to your original image in Photoshop. You should however see the pick you created a moment ago. We're going to paste the second prototype straight into this selection. To do that, go upwardly to the Edit menu at the height of the screen and choose Paste Into:
Selecting "Paste Into" from the "Edit" menu.
Three things will happen to the original image when y'all choose "Paste Into". Photoshop will add a new layer above the Background layer in the Layers palette, it will place the 2d image on to the new layer, and it will utilise the selection we made to create a layer mask, which volition hibernate all areas of the 2nd image that fall outside of the selection, leaving only the area inside the choice visible. In other words, the only part of my football image that will be visible is the area that fits within the selection I fabricated around the tv screen.
Commencement, let's look at the Layers palette for the original image to see what's happened. We tin encounter that I now have two layers - the original Background layer on the lesser which contains my television receiver paradigm, and the new layer, "Layer 1", higher up it which contains the football photo. Nosotros can also run into the layer mask thumbnail (circled in red) showing us the layer mask that was created. The white, rectangular-shaped surface area in the middle of the thumbnail is the area that was selected (the tv screen), and all the black area around it is the area that was not selected:
Photoshop adds a new layer to the original paradigm, places the second image on to the new layer, and creates a layer mask based on the pick we made in Pace 1.
And if nosotros look at the image itself, we can at present see the football game paradigm appearing on the tv screen:
The 2nd image now appears within the selection we made in the original epitome.
Step 4: Resize The Second Image With Free Transform
The only problem at the moment is that the television set is on an bending and the photo I've pasted into information technology is not, so the perspective between the two images isn't matching up. To gear up that, I'll press Ctrl+T (Win) / Command+T (Mac) to bring upwardly Photoshop's Free Transform box and handles effectually the second epitome. The first thing I'grand going to do is try to fit as much of the football game photograph into the telly screen as I can, then I'll hold downward Shift+Alt (Win) / Shift+Selection (Mac) and drag one of the iv corner handles in towards the center to make the image smaller. Belongings "Shift" constrains the proportions of the image every bit I drag so I don't accidentally distort the look of the epitome, and holding downwards "Alt/Pick" tells Photoshop to resize the image from its centre, which makes things easier:

Resize the image as needed with Photoshop'southward "Complimentary Transform" command.
Now that I'k happy with the size of my second image, I'g going to fix the perspective problem. With Free Transform nevertheless active, I'grand going to agree down Shift+Ctrl+Alt (Win) / Shift+Command+Option (Mac), which temporarily turns Costless Transform into Perspective transform mode. You could likewise get up to the Edit menu, choose Transform, and so cull Perspective, merely the keyboard shortcut is easier if y'all already take the Gratuitous Transform handles active.
In Perspective transform mode, I'm going to click again on the handle in the pinnacle left corner and drag it downwards a little. Equally I drag the top left corner handle down, the handle in the lesser left corner is going to move up at the same time. This volition allow me to reduce the superlative of the left side of the football game image without affecting the height of the right side of the prototype, creating the illusion that the image is on the same angle as the television:
Use "Perspective" transform style to right any perspective bug betwixt the ii images.
At present that I'thousand happy with the size and angle of the second image, I'll printing Enter (Win) / Return (Mac) to take the changes and exit out of the Gratuitous Transform command.
Footstep five: Add An Inner Shadow Layer Style
To finish off the consequence, I'm going to add a slight shadow to the edges of the football paradigm so it looks more like it'due south actually displaying on the goggle box screen and less like someone just pasted it on there (even though that'southward exactly what we did). With "Layer ane" selected, I'll click on the Layer Styles icon at the bottom of the Layers palette and I'll select Inner Shadow from the list of layer styles:
Click on the "Layer Styles" icon at the bottom of the Layers palette and select "Inner Shadow" from the list.
This brings up Photoshop's Layer Manner dialog box set to the Inner Shadow options in the middle cavalcade. Lower the Opacity of the Inner Shadow to around sixty% so it's not quite equally intense, and then lower both the Size and Distance downwards to i px. You lot may too need to adapt the Angle of the shadow depending on your image. I have mine set to 120°:
Change the options for the Inner Shadow layer mode circled in a higher place.
Click OK to leave out of the Layer Style dialog box and utilize the shadow, and you're done! Here, later calculation my shadow result around the edges of the football paradigm so it looks more than natural on the tv screen, is my concluding result:
The final result.
Other Stuff
© 2022 Photoshop Essentials.com.
For inspiration, not duplication.
Site blueprint past Steve Patterson.
Photoshop is a trademark of Adobe Systems Inc.
Source: https://www.photoshopessentials.com/photo-effects/paste-into/
Posted by: hudsonliend1975.blogspot.com
0 Response to "How To Place An Image Over Another In Photoshop"
Post a Comment